本文介绍Hexo的butterfly主题添加类似particlex的旋转样式
particlex的样式
在挑选 hexo 主题的时候, 最终在butterfly和 particlex之间二选一
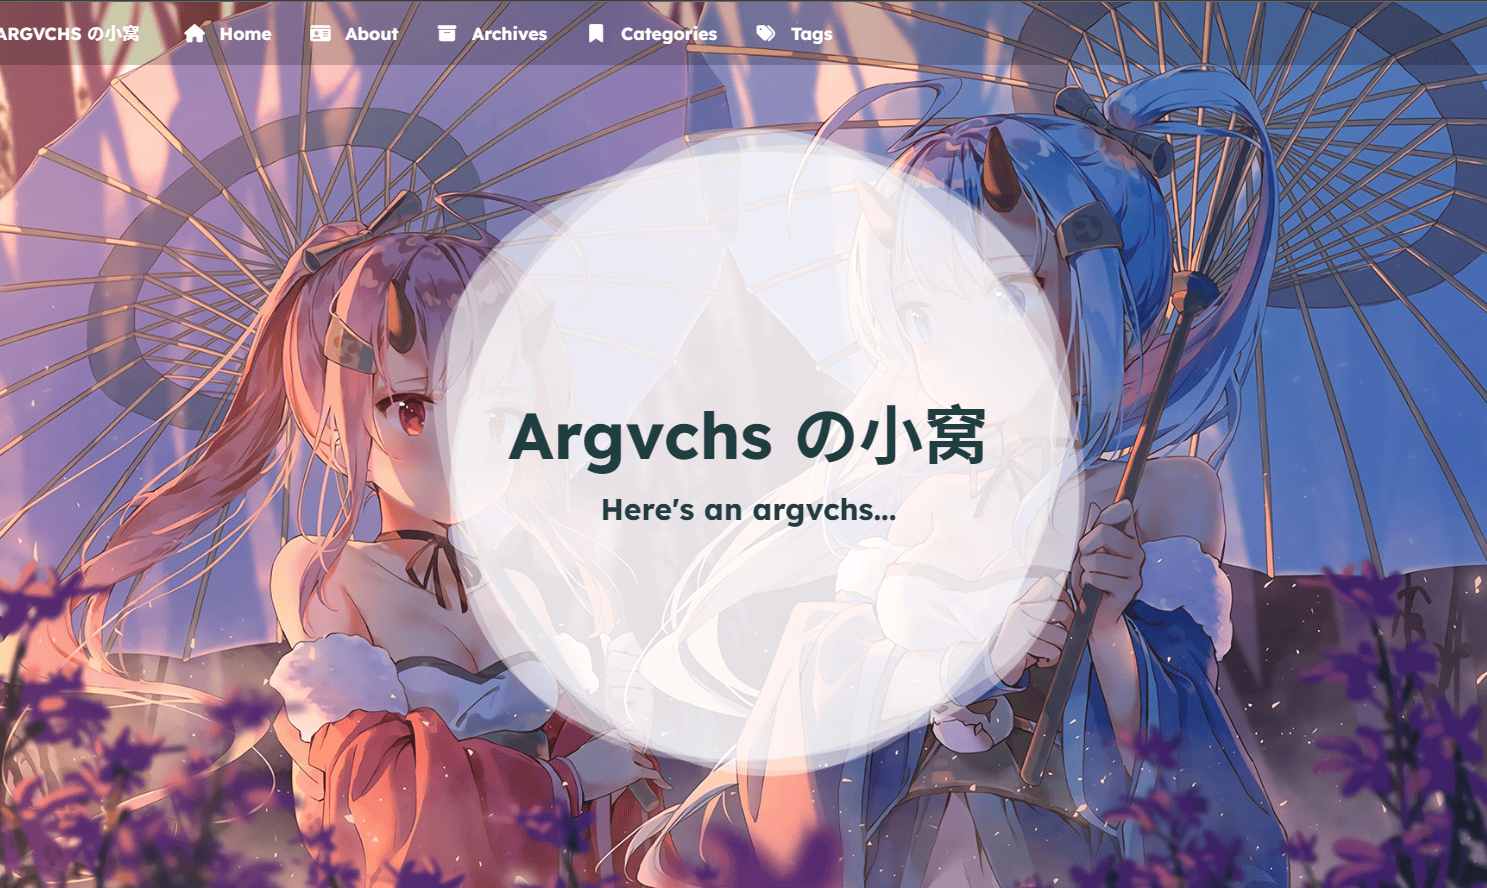
主页图片如下

他的主页这个旋转的圈圈击中了我的心😍
官网参考 particlex的官网
demo参考 argvchs的小窝
当时在挑主题的时候就在这个主题和现在所选的butterfly之间纠结了好久, 但particlex的主题功能不如butterfly的丰富, 于是我最终决定把particlex的这个圈圈移植到butterfly就好了
将particlex的首页旋转图移植到butterfly
经过研究particlex的css代码, 只需在我们butterfly的主题做如下更改即可
- 在
function.styl中添加css代码
- 在
index.pug中添加元素
- 在
darkmode.styl中设置明暗切换
具体步骤如下
1. 改动 function.styl
找到 \themes\butterfly\source\css\_global\function.styl
然后搜索如下的位置(大概在110行左右)
1
2
3
4
5
| // animation
if hexo-config('enter_transitions')
#content-inner,
#footer
animation: bottom-top 1s
|
添加如下代码
1
2
3
4
5
6
7
8
9
10
11
12
13
14
15
16
17
18
19
20
21
22
23
24
25
26
27
28
29
30
31
32
33
34
35
36
37
38
39
40
41
42
43
44
45
46
47
48
49
50
51
52
| #page-header
animation: header-effect 1s
display:grid // 把布局改成grid,方便居中
.loop
display: inlineblock
height: 350px
position: absolute
width: 350px
margin: 0 auto
align-self:center
justify-self:center
@media (max-width: 600px ) //添加媒体查询,适配手机
.loop
height: 50vw
width: 50vw
.loop:nth-child(1)
animation: loop1 5s linear infinite
background-color: var(--mydiy-loop-color1)
border-radius: 38% 62% 63% 37%/41% 44% 56% 59%
opacity: 0.3
transform: rotate(30deg)
.loop:nth-child(2)
animation: loop2 5s linear infinite
background-color: var(--mydiy-loop-color2)
border-radius: 38% 62% 63% 37%/41% 44% 56% 59%
opacity: 0.45
transform: rotate(60deg)
.loop:nth-child(3)
animation: loop3 10s linear infinite
background-color: var(--mydiy-loop-color3)
border-radius: 38% 62% 63% 37%/41% 44% 56% 59%
opacity: 0.3
transform: rotate(90deg)
.loop:nth-child(4)
animation: loop4 15s linear infinite
background-color: var(--mydiy-loop-color4)
border-radius: 38% 62% 63% 37%/41% 44% 56% 59%
opacity: 0.45
transform: rotate(120deg)
.loop:nth-child(5)
animation: loop5 20s linear infinite
background-color: var(--mydiy-loop-color5)
border-radius: 38% 62% 63% 37%/41% 44% 56% 59%
opacity: 0.3
transform: rotate(150deg)
|
然后继续往下, 找到 @keyframes scroll-down-effect
在它之前添加如下代码
1
2
3
4
5
6
7
8
9
10
11
12
13
14
15
16
17
18
19
20
21
22
23
24
25
26
27
28
29
30
31
32
33
34
35
36
| @keyframes loop1
0%
transform: rotate(30deg);
100%
transform: rotate(390deg);
@keyframes loop2
0%
transform: rotate(60deg);
100%
transform: rotate(420deg);
@keyframes loop3
0%
transform: rotate(90deg);
100%
transform: rotate(450deg);
@keyframes loop4
0%
transform: rotate(120deg);
100%
transform: rotate(480deg);
@keyframes loop5
0%
transform: rotate(150deg);
100%
transform: rotate(510deg);
|
注意以上的样式 (大小/旋转速度/曲率等) 都是可以自定义的
2. 改动index.pug
找到\themes\butterfly\layout\includes\header\index.pug
搜索如下代码
1
2
3
4
5
6
7
8
| if top_img !== false
if is_post()
include ./post-info.pug
else if is_home()
#site-info
h1#site-title=site_title
if theme.subtitle.enable
|
在else if语句后面, #site-info前面添加如下
1
2
3
4
5
| span.loop
span.loop
span.loop
span.loop
span.loop
|
3. 改动darkmode.styl
找到\themes\butterfly\source\css\_mode\darkmode.styl
在最上面的[data-theme='dark']的下面, 添加如下
1
2
3
4
5
6
7
| if hexo-config('darkmode.enable') || hexo-config('display_mode') == 'dark'
[data-theme='dark']
--mydiy-loop-color1: #eadeec14 //loop colors
--mydiy-loop-color2: #eadeec14
--mydiy-loop-color3: #58582a6e
--mydiy-loop-color4: #36607a8c
--mydiy-loop-color5: #7a233c6b
|
注意这里的颜色是可以自定义的, 对应了5层css颜色
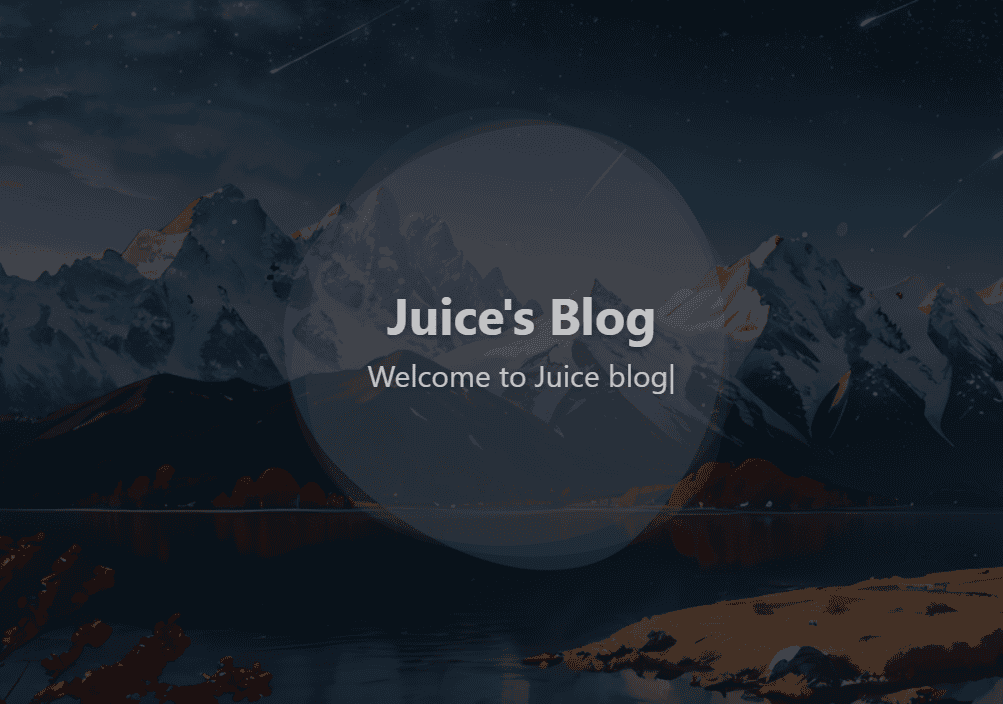
最终效果
最后在本地预览, 即可成功啦
明亮模式
黑暗模式